Getting Started
Gouash is your AI design brief and visualization workspace for architecture and interiors. The Create page is your main studio — collect references, generate options, and refine outputs.
Access the Create Page
After signing in, click 'Create' in the navigation or go to /app to access your design workspace.
Enter Your Vision
Use the prompt box at the bottom to describe the design you want to create. Be as detailed as you like.
Generate and Refine
Click Generate and watch your vision come to life. You can then edit, animate, or create variations.
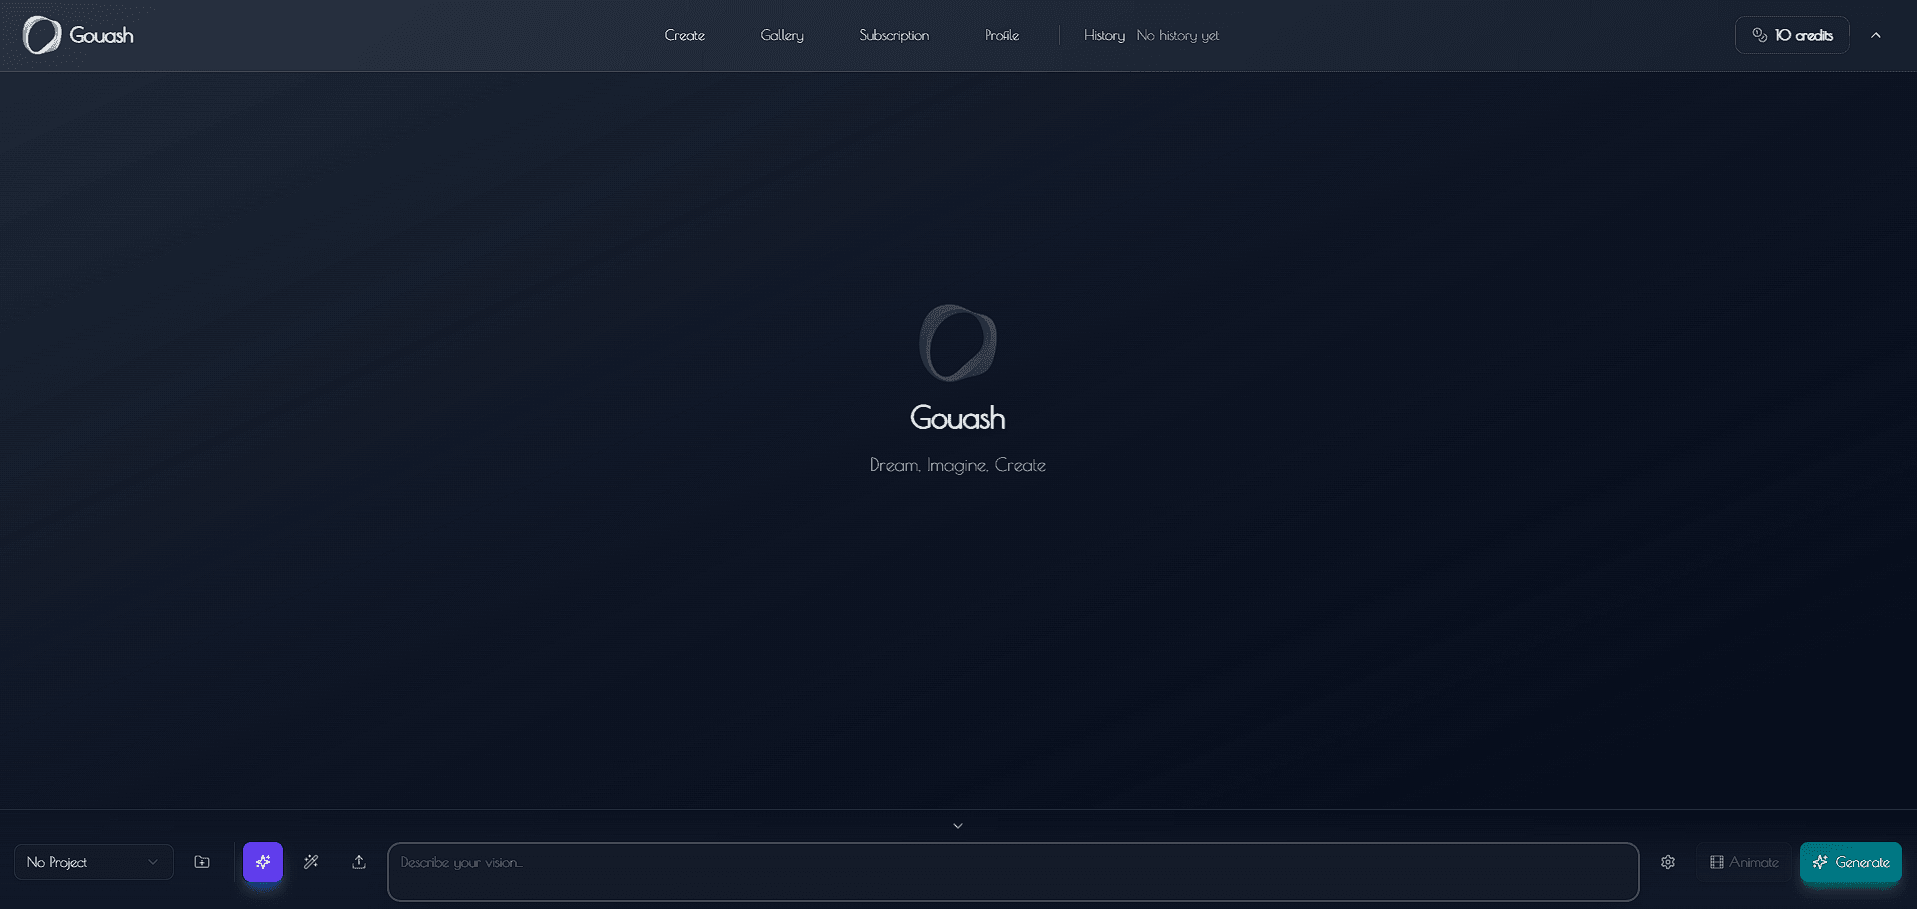
The main Create interface with all key components
Canvas & Moodboards
The Canvas is your free-form visual workspace for building moodboards. Open it from the Create page by clicking the Canvas / Moodboard button. Think of it as an infinite digital pinboard where you collect, arrange, sketch, and annotate everything that defines a project before you generate a single render.
What is a moodboard?
A moodboard is a curated collage of references - chandeliers, materials, flooring, furniture, windows, curtains, and color palettes - that captures the look, feel, and direction of a design. It is the language designers use to understand a client's needs, brainstorm and align on ideas, and lock in a cohesive aesthetic before committing to a full visualization.
Understand client needs - gather their inspiration images in one place to confirm you are aligned on taste and intent.
Brainstorm ideas - mix materials, palettes, and furniture freely until a direction emerges.
Feed the AI - send the finished board straight into Design mode with the Use button to generate on-brief renders.
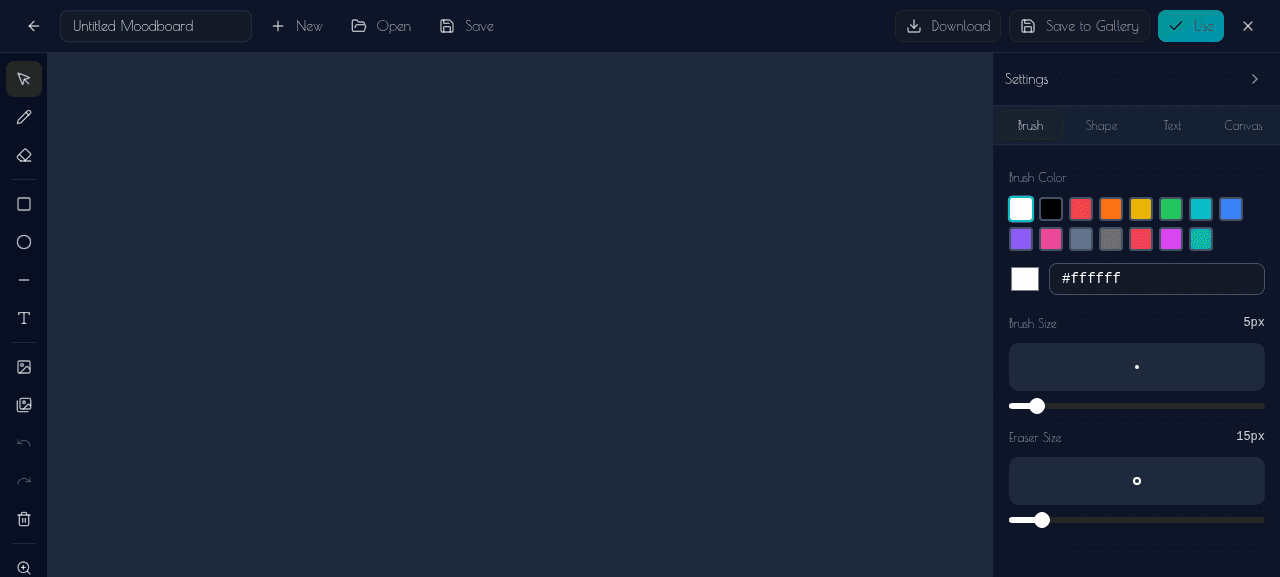
The Canvas: top action bar, left tool rail, and right settings panel
A tour of the interface
The Canvas is built from three zones. Here is what every part does.
Top action bar
- Project name - rename your moodboard inline.
- New / Open / Save - start fresh, reopen a saved board, or store your progress.
- Download - export the board as an image.
- Save to Gallery / Use - send the board to your gallery or push it into Design mode as a reference.
Left tool rail
- Select (V) - move, resize, and rotate any element.
- Draw (B) & Erase (E) - freehand annotations and corrections.
- Rectangle, Circle, Line - frame groups and draw connectors.
- Text & Image - add labels and drop in references.
- Undo / Redo / Delete / Zoom - manage the board state.
Right settings panel
- Brush - brush color, brush size, and eraser size.
- Shape - fill color, stroke color, and stroke width.
- Text - text color, font family, and font size.
- Canvas - background color, zoom, and layer order.
The settings panel, tab by tab
Whatever tool you pick, the right panel updates with the exact controls you need.
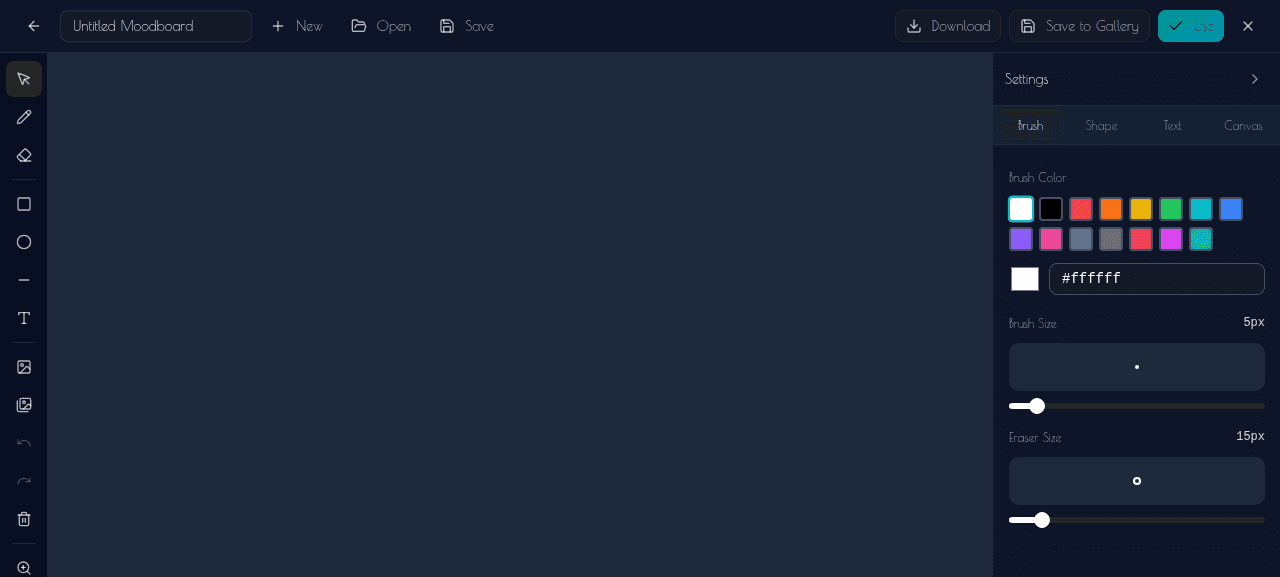
Brush tab
Color, brush size, eraser size
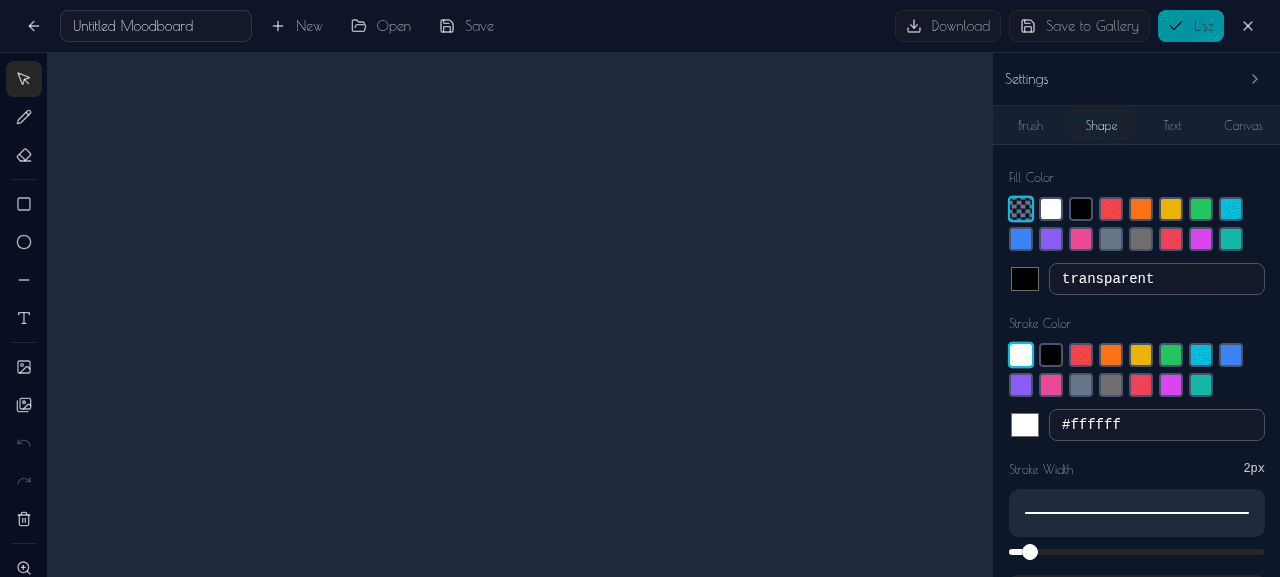
Shape tab
Fill, stroke color, stroke width
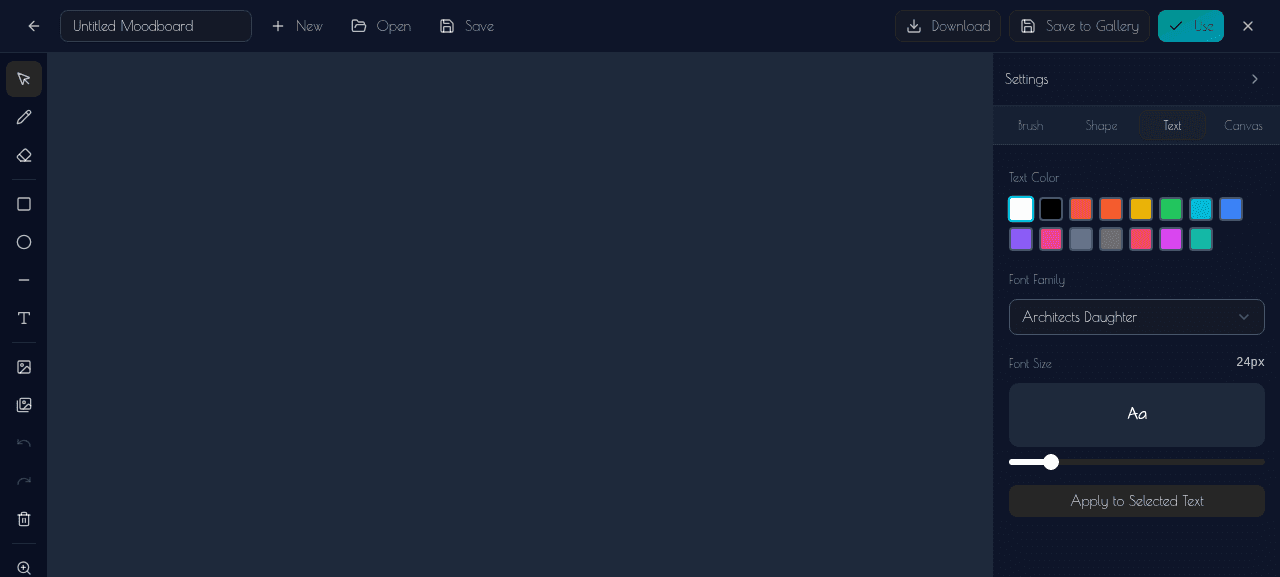
Text tab
Color, font family, font size
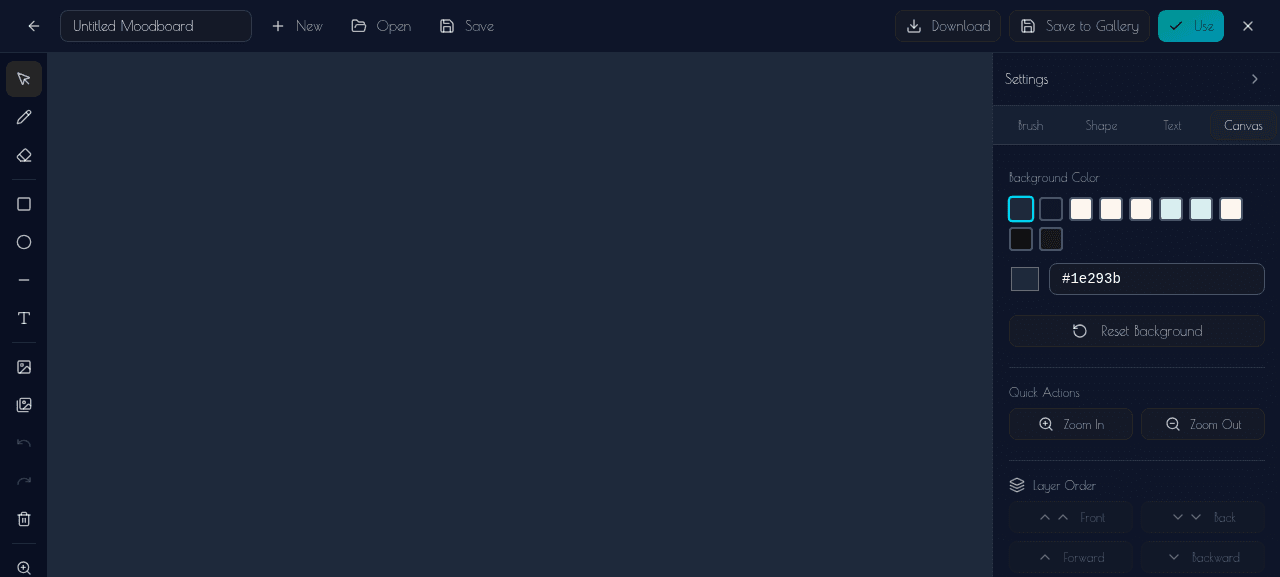
Canvas tab
Background, zoom, layer order
Build a moodboard in five steps
Open the Canvas
From the Create page, click the Canvas / Moodboard button to open your infinite workspace.
Collect references
Use the Image tool to add chandeliers, materials, flooring, furniture, windows, curtains, and color palettes - anything that captures the brief.
Arrange and group
Switch to Select to drag, resize, and rotate items. Use rectangles and lines to group related references and connect ideas.
Annotate
Add Text labels ('oak floor', 'brass') and freehand Draw arrows to explain your thinking and align with the client.
Save or send to AI
Save the board, or hit Use to push it into Design mode and generate a render that matches your moodboard.
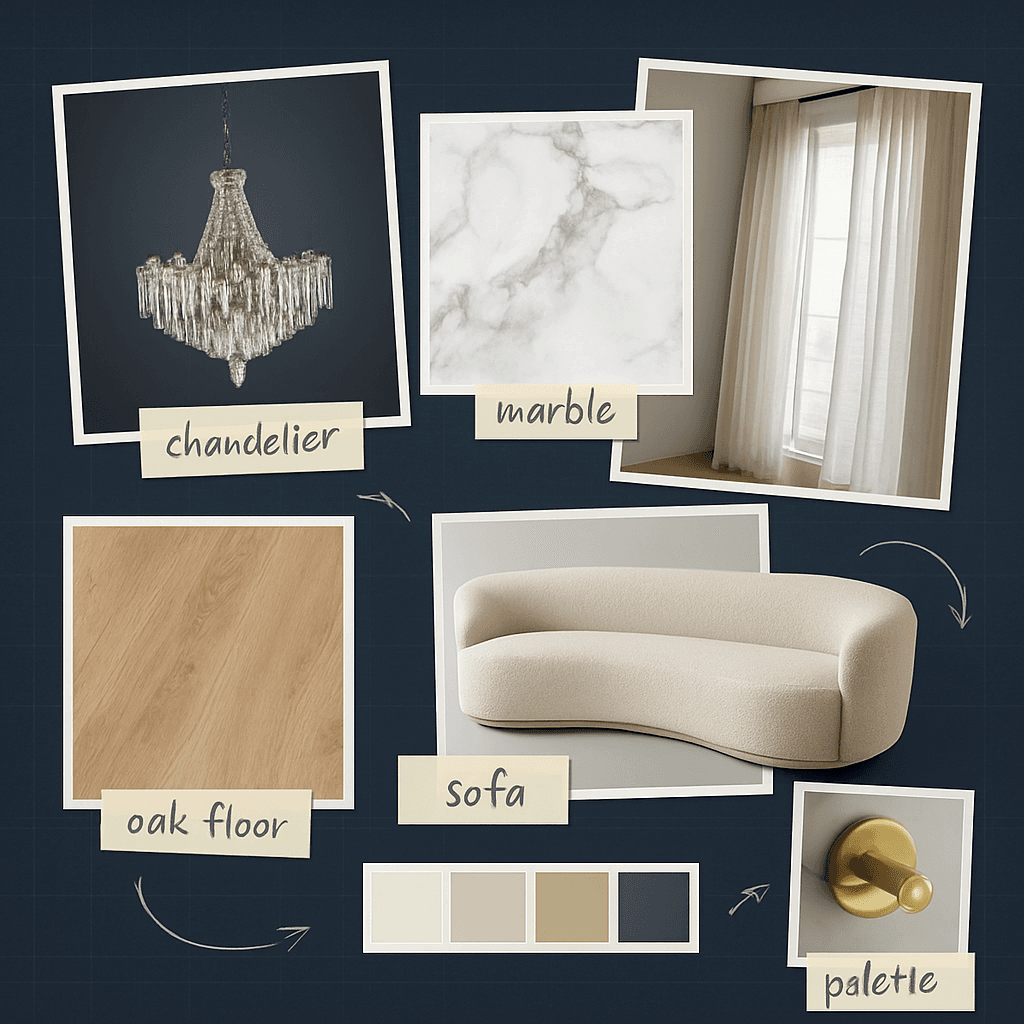
A finished moodboard: references, labels, arrows, and a palette
From board to render
Once a board feels right, the Canvas does more than document the brief - it drives the generation. Press Use to send the moodboard into Design mode as a reference, and Gouash produces a render that respects the materials, palette, and mood you assembled.
Pro tip
Keep one clear color palette strip and 6-8 strong references per board. Too many competing directions make it harder for both your client and the AI to lock onto a single vision. See full before-and-after examples on the home page.
Understanding Credits
Credits are the currency for creating designs in Gouash. Different operations cost different amounts of credits based on quality and complexity.
Image Generation
Create or edit images
Video Generation
Animate your designs
Pro Tip
Start with lower resolutions to experiment with ideas, then use 4K for final renders. This helps you maximize your credits while exploring creative options.
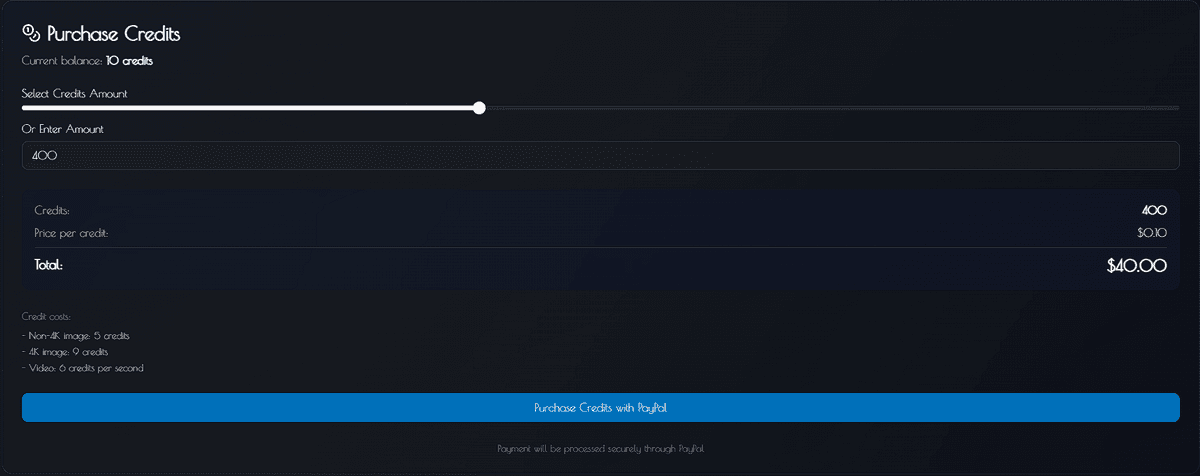
Getting More Credits
- Subscription Plans: Get monthly credit allowances with Starter (100), Standard (350), or Professional (900) plans
- Credit Packs: Purchase additional credits anytime at $0.10 per credit
- No Expiration: Your credits never expire, use them whenever you need
Creating New Images
The Design mode is your starting point for creating entirely new architectural visualizations from text descriptions. Simply describe what you want to see.
Select Design Mode
Click the "Design" button (with sparkles icon) to enter generation mode. This is active by default when you open the Create page.
Add Reference Images (Optional)
Upload up to 5 reference images to guide the AI. These can be inspiration photos, sketches, or existing designs you want to use as a starting point.
Write Your Prompt
Describe your vision in detail. Include architectural style, materials, lighting, atmosphere, and any specific elements you want in the design.
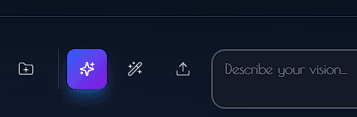
Toolbar: folder icon, design mode (highlighted), edit mode, upload, and prompt input
Intent-Based AI Understanding
Gouash is specifically trained for architecture and interior design. It understands architectural terminology, design styles, and spatial concepts. You don't need to be overly specific - the AI intelligently interprets your intent.
Instead of writing:
"Generate an image of a room with white walls and wooden floor..."
Simply write:
"Scandinavian minimalist living room with warm oak flooring"
Editing Existing Images
The Edit mode allows you to modify existing images using natural language instructions. Transform any design by describing the changes you want.
Select an Image to Edit
Upload a reference image, select from your gallery, or use a previously generated design from your history.
Switch to Edit Mode
Click the 'Edit' button (with wand icon) to activate editing mode.
Describe Your Changes
Write what you want to change: 'Change the sofa to dark blue velvet' or 'Add floor-to-ceiling windows on the left wall'.
Examples of what you can edit
- - Change materials (wood, marble, concrete, etc.)
- - Modify colors and textures
- - Add or remove furniture and objects
- - Adjust lighting and atmosphere
- - Transform architectural elements
- - Change the time of day or season
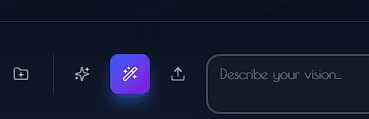
Toolbar with Edit mode selected (highlighted)
Example Edit Prompts
"Change the ceiling to exposed wooden beams"
Material modification
"Make it evening with warm ambient lighting"
Lighting change
"Add a large abstract painting above the fireplace"
Adding elements
Creating Videos
The Animate mode transforms static images into immersive walkthrough videos. Create cinematic animations of your architectural designs.
Start with an Image
You need an image to animate. Either upload one or use a design you've already generated.
Switch to Animate Mode
Click the 'Animate' button (with film icon) to enter animation mode.
Configure Duration
Open Settings to choose video duration: 4, 6, or 8 seconds. Longer videos cost more credits.
Add Motion Direction (Optional)
Describe camera movement in your prompt: 'Slow pan to the right' or 'Zoom into the fireplace'.
Video Duration & Credits
4s
24 credits
6s
36 credits
8s
48 credits
Animation Prompt Tips
"Slow cinematic pan from left to right revealing the living space"
Horizontal pan
"Gentle forward movement through the entrance hall"
Walkthrough motion
"Static shot with subtle ambient movement and light changes"
Ambient
Best Practices for Videos
- - Use high-quality source images for best results
- - Simple camera movements work best
- - Avoid complex multi-directional movements
- - Interior shots with clear depth work well
Generation Settings
Click the gear icon to access generation settings. These control the output quality and format of your designs.
Aspect Ratio
Choose the shape of your output image:
16:9
Landscape
9:16
Portrait
1:1
Square
Resolution
Higher resolution = more detail, but costs more credits:
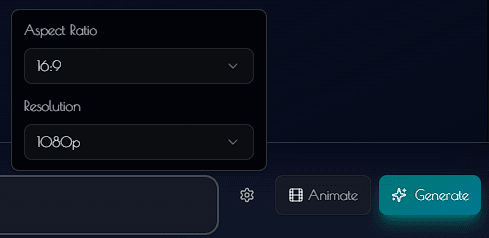
Aspect ratio, resolution settings, and generate button
Video Duration
Only applies when using Animate mode:
4 sec
Quick preview
6 sec
Standard
8 sec
Extended
Writing Effective Prompts
Gouash is optimized for architecture and interior design. Here's how to write prompts that get the best results for your architectural visualizations.
Architectural Styles
Mention specific styles: Modern, Art Deco, Brutalist, Mediterranean, Japanese, Industrial, Victorian, etc.
Materials & Textures
Specify materials: Polished concrete, travertine marble, walnut wood, brushed brass, white oak, etc.
Lighting & Mood
Describe atmosphere: Golden hour light, dramatic shadows, soft ambient glow, morning sunlight, etc.
Context & Environment
Add surroundings: Ocean view, forest setting, urban skyline, courtyard garden, mountain backdrop, etc.
Room Types
Specify spaces: Open-plan living, chef's kitchen, master suite, home office, rooftop terrace, etc.
Details & Accents
Add specifics: Indoor plants, statement chandelier, built-in shelving, fireplace, artwork, etc.
Example Architecture Prompts
"Modern minimalist villa with floor-to-ceiling windows overlooking infinity pool, white concrete walls, warm wooden accents, golden hour lighting"
Exterior - Modern Luxury
"Industrial loft apartment with exposed brick walls, steel beam ceiling, polished concrete floor, large factory windows, vintage furniture mixed with contemporary pieces"
Interior - Industrial
"Japanese-inspired zen garden courtyard with raked gravel, moss stones, bamboo water feature, minimalist wooden pavilion, soft morning mist"
Landscape - Japanese
Example Interior Prompts
"Scandinavian living room with pale oak floors, white walls, large linen sectional sofa, wool textured rug, statement floor lamp, indoor fiddle leaf fig plant"
Living Room - Scandinavian
"Luxury master bathroom with Calacatta marble walls and floor, freestanding copper bathtub, double vanity with brass fixtures, floor-to-ceiling window with garden view"
Bathroom - Luxury
"Contemporary home office with built-in walnut shelving, mid-century modern desk, leather Eames chair, natural light from skylight, curated book collection and art objects"
Office - Contemporary
Prompt Structure Formula
[Style] + [Room Type] + [Key Materials] + [Lighting/Mood] + [Notable Features]
Example: "Art Deco hotel lobby with terrazzo floors, emerald velvet seating, brass accents, dramatic pendant lighting, geometric patterns, and a statement marble reception desk"
Using the Windows App
Gouash offers a standalone Windows application for rendering and creating stunning animations of architecture or urban design related models. Use your API key to connect and transform your 3D models into photorealistic visuals. Requires an internet connection to work.
Generate Your API Key
Go to your Profile page and navigate to the API Keys section. Click 'Generate API Key' to create a new key.
Copy the API Key
Click the Copy button to copy your full API key to clipboard. Keep this key secure - it provides access to your account.
Open the Windows App
Launch the Gouash Windows application on your computer. Make sure you have an active internet connection.
Paste Your API Key
Click the Key icon at the top of the app to open the API configuration. Paste your API key and connect to authenticate.
Start Rendering
You're all set! Simply create your 3D model, position your camera to frame the perfect shot, and optionally add textures for extra detail. When ready, click the Capture button to take a screenshot directly from your viewport. Then write a descriptive prompt to guide the AI, and hit Render for a stunning photorealistic image or Animate to bring your design to life with beautiful motion.
Security Note
Your API key is like a password - don't share it publicly. If you suspect it's been compromised, you can revoke it and generate a new one from your Profile page.
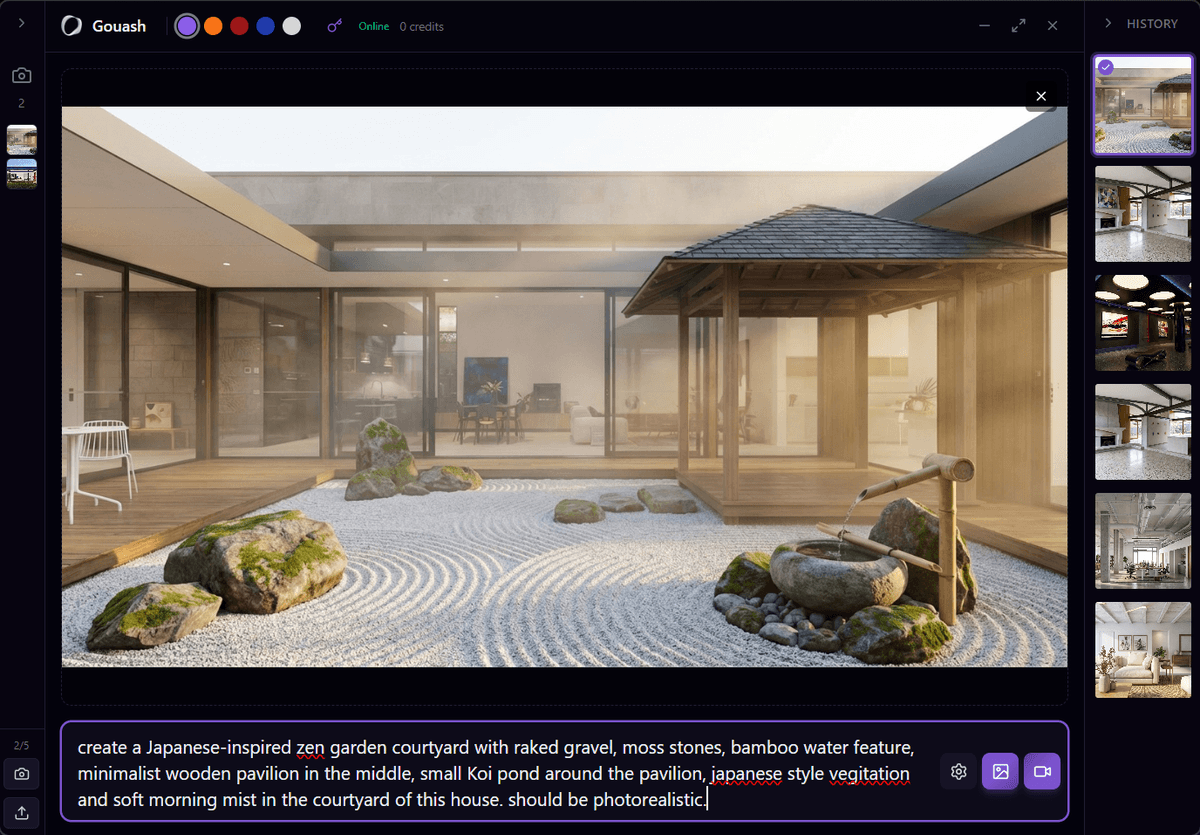
The Gouash Windows app for rendering architecture and urban design models
What You Can Do With the Windows App
- Works with any Windows-based 3D software including Revit, 3D Studio Max, Maya, Rhinoceros, SketchUp 3D, Blender, Cinema 4D, and many more
- Render architecture and urban design models into photorealistic images
- Create stunning animations from your 3D model screenshots
- Send up to 5 reference images per render request
- All renders automatically appear in your web gallery
- Credits are deducted from your account (same rates as web)
Ready to Create?
You've learned the essentials. Now it's time to bring your architectural visions to life with Gouash.